Supplies:
- Shirt
- Fabric for the skirt
- coordinating fabric for the band at the bottom and the optional belt/tie
- sewing machine
- matching or coordinating thread
- scissors
- measuring tape
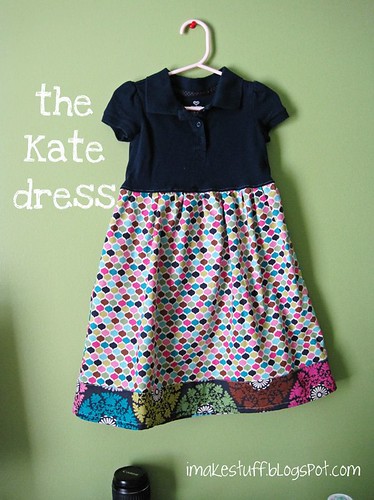
The shirt you choose should fit your child, at least in the head/arms/chest area. This is a great project for tops that are stained on the lower half or are a little short for normal wear. Ours fell into the category of simply being too short.
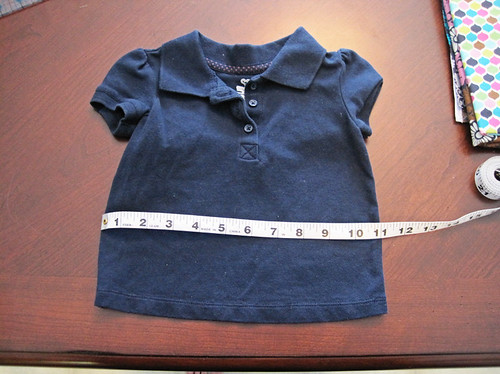
Figure out where you want the skirt to begin, and mark it. Add a half inch to this mark (for seam allowance) and cut the bottom of the shirt off. Since the shirt I chose was a polo shirt, I made mine fall about 2 inches below the bottom button. In retrospect, I should have made it closer... maybe just one inch below.
Step 3: Measure some More
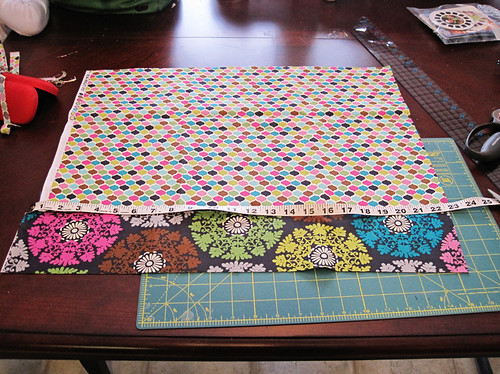
Step 4: Cut your skirt using the measurements from the step above. You'll need two pieces - one for the front, one for the back.
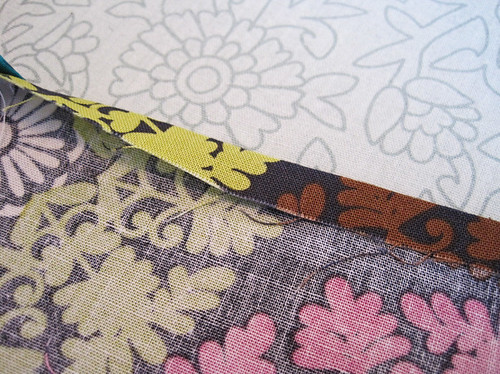
Step 5: Cut the piece for the bottom band.
Decide how wide you want your bottom band to be, then cut a strip of fabric the same width of the skirt piece but the height that you want it to be plus 1 inch. You need two pieces, just like you did for the skirt.
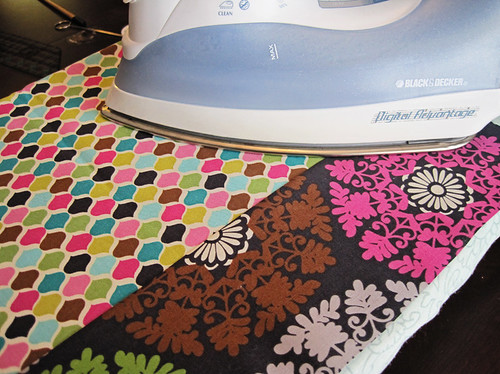
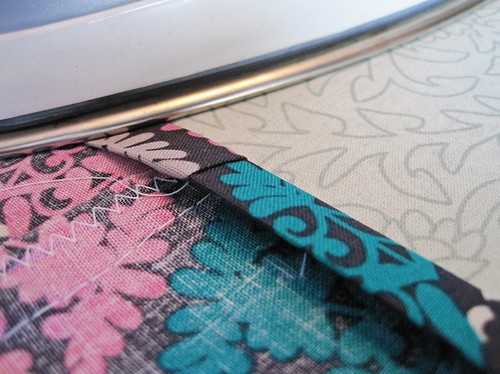
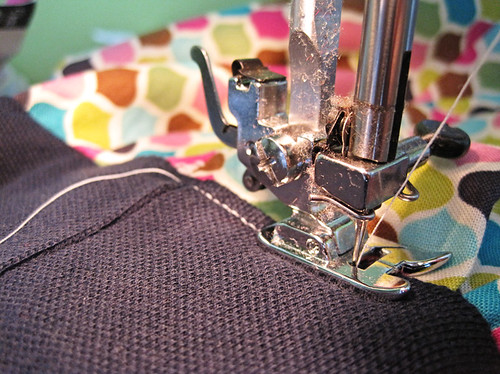
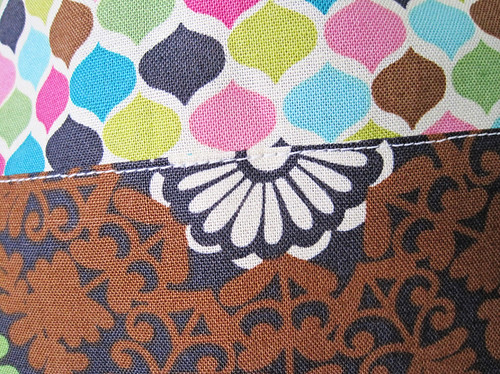
Step 6: Sew the band to the skirt. Make sure right sides are together. Press.
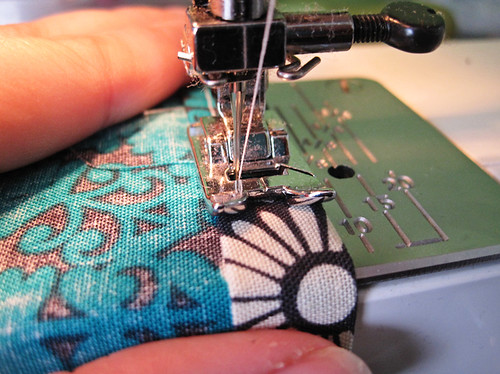
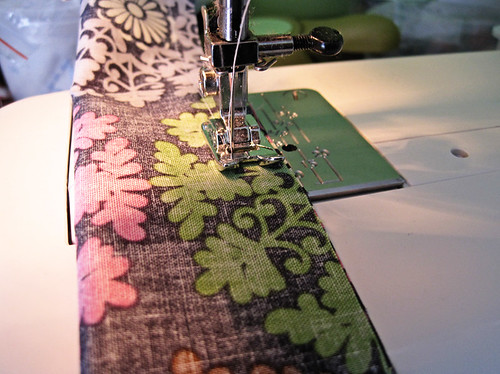
Step 7: Sew the gathering stitch at the top of the skirt.
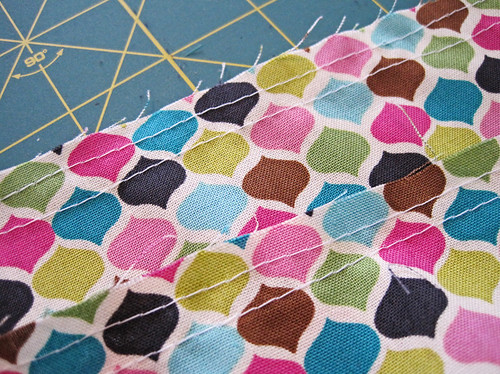
Oh, and for a gathering stitch... you just need a really loose straight stitch with no backstitching at the ends. This way you can pull the thread at the ends and gather your stitching. I've also seen people make their tension on their machine really tight, and the stitch really loose and the machine can gather it automatically for you. This has never worked for me... but try it if you'd like.
Step 8: Sew your skirt together
Step 9: Hem the skirt
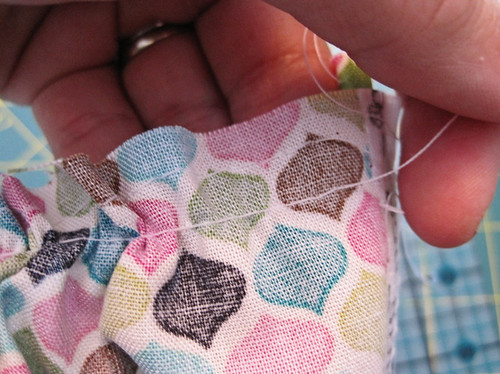
Step 9: Gather your stitches
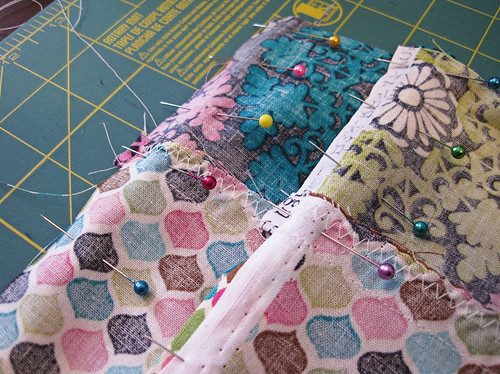
Step 10: Pin your skirt to your shirt

Step 11: Stitch your skirt to your shirt.
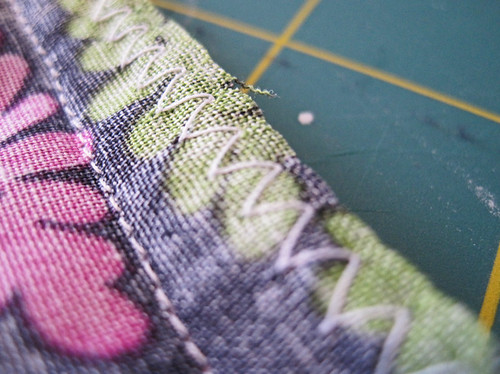
Stitch your top ans skirt together and then Zig Zag the raw edges and press flat.
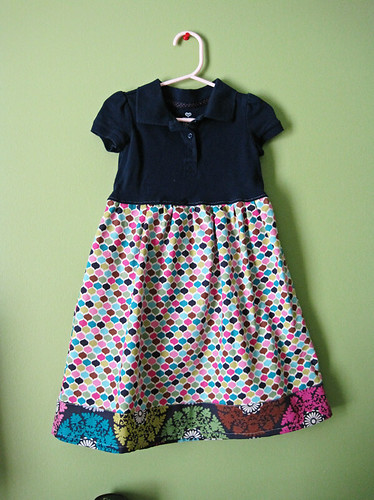
Step 12: See what you've got!
Turn your dress right side out and see how far you've come! Looks great doesn't it? Now, you can leave it as is and have a perfectly beautiful dress... but why stop here??
Optional:
Step 13: Do a little topstitching...
Step 14: If you want, add a little belt/tie
I thought it would be cute to add a little belt to this... my daughter had other ideas and didn't want to wear it. If you'd like one... choose your fabric (I made mine the same width as the original skirt pieces 22") YOu'll need one piece twice the height that you want the finished belt to be... mine was 1" tall so I cut it 2".
Turn belt right side out and press flat. Fold in the edges and press those in too.
then Top stitch.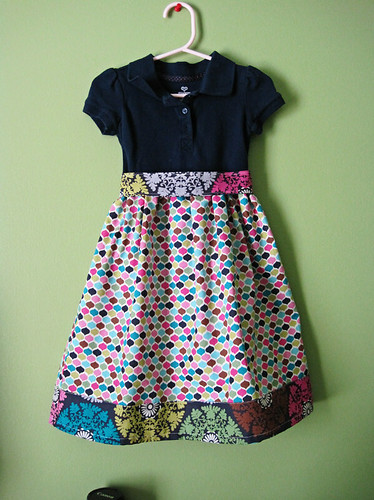
I had a feeling that mine was a little long... and when I tried it on NK, it fit - but was definitely on the long side. I wanted to fix it, but she had other ideas. Apparently the dress was a hit because she didn't want to take it off. She wore it all day long :)
She even let me take her picture :) It's pretty rare that she'll allow me to take her picture anymore, so this was great!
Anyway... hope you enjoyed my little tutorial. I hope this was helpful! If you have any questions, please ask in the comments section. If you make one... I'd love to see it!


Great dress! I love how you used a polo! And that fabric is one of my new faves! I just made my daughter a peasant dress from it not too long ago!
ReplyDeleteLove this!! Makes me want to get crafting... :)
ReplyDeleteI love this idea. My little girl is long waisted, so her shirts are always getting too short before they are too small in the shoulders. This is a perfect way to extend their wear.
ReplyDeleteThanks everyone!!!
ReplyDelete