Yes, it's technically "crafty" - although more "artsy"... either way, it belongs here because "I made it!" :) hehe
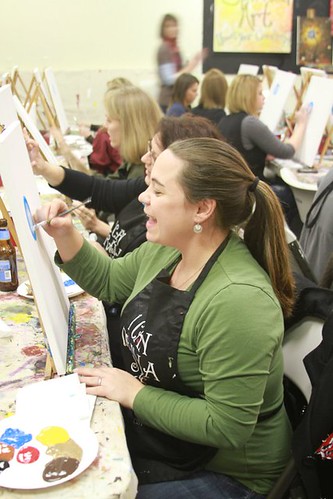
Last night I had plans to meet up with two old friends from high school. We met for dinner then went to Spirited Art in Huntsville, AL. Basically, you sign up to go drink and paint. Really... you can bring whatever you want to drink (alcohol is welcomed) and you just relax and have a bit of fun following along with the selected painting. It's super easy (so don't be scared if you think you can't paint), and lots of fun!
Here's some fun photos from our night out :)
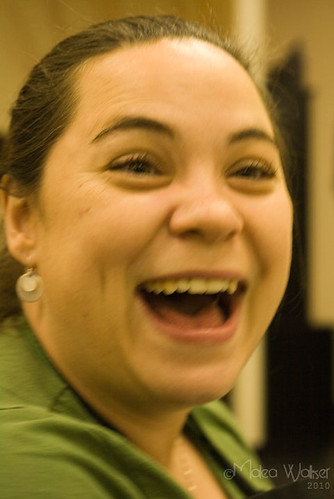
My co-horts for the evening...
Jackie (by the way, this is a total Jackie face here... happy, excited, and even the out-of-focusness of it all lends to describe her because I've never known Jackie to be able to sit still)
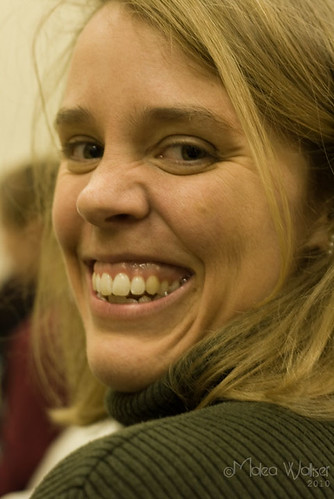
and
Annie
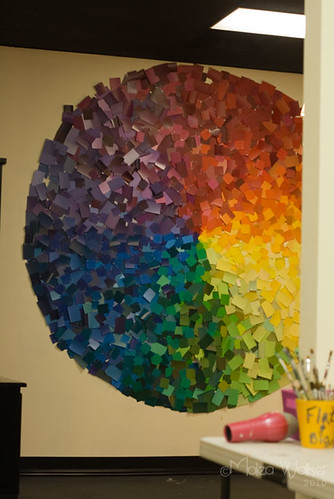
The awesome color wheel that they had on the wall... made out of paint samples that you get at the home improvement store (or paint store I guess)
By the way, I would totally love to make one of these! Maybe on a smaller scale though in my future craft room... hummmm
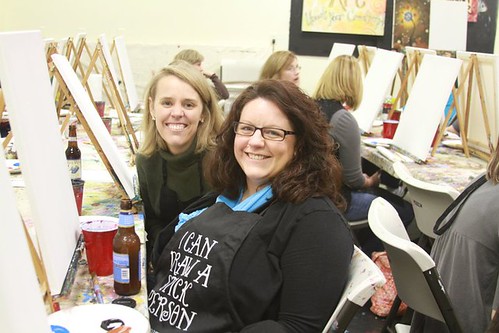
Me & Annie getting ready for the class to start
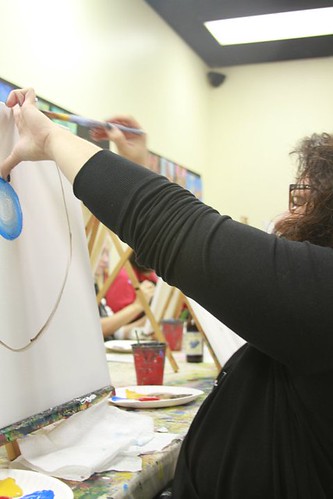
Getting started... it sure is a little scary getting those first few strokes on the canvas
A lot of the description on how to place stuff and where to paint (how to space things out) was done by having us stretch our fingers out certain ways to measure... interesting, but it sure worked!
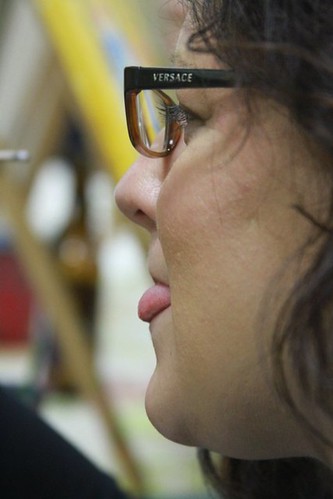
I apparently stick my tongue out a lot when I concentrate on things... I kinda always have done this... my kids to it too (who knew sticking your tongue out could be an inherited behavior?)
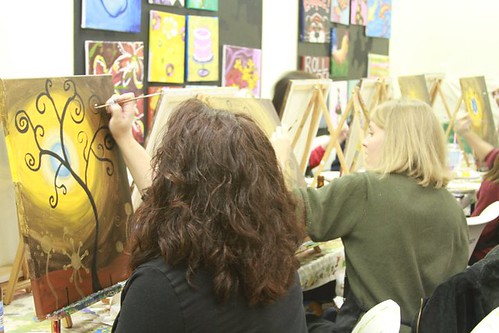
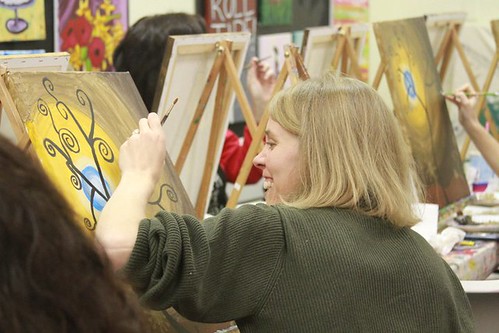
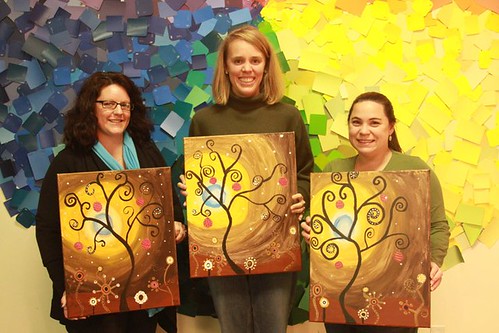
Our finished paintings... by this time it was 9:30 pm and I was exhausted!!
We had a blast! This is totally something that I plan to do again!! They even set up private parties - that could be fun sometime!
Thanks to Jackie for sharing her photos with me to use here!!
Monday, November 29, 2010
What I did last night
I AM working on stuff...
I promise, I haven't forgotten this little crafty blog - I've just been too busy actually crafting and stuff though. Most of the things I've been making lately are all Christmas presents, so I can't really share them till after they've been given - sorry. I have been doing a good bit of sewing, and have even taught myself to crochet. I still like the look of knit stuff better, but it's so much easier to crochet shapes other than squares (adding and subtracting stitches in knitting is something I have never learned to do).
I do have some new photos to share this evening though... I've just got to get home, get the girls fed, bathed, and put to bed then I can work on sharing some photos :)
I do have some new photos to share this evening though... I've just got to get home, get the girls fed, bathed, and put to bed then I can work on sharing some photos :)
Monday, November 15, 2010
The cutest baby shoes!
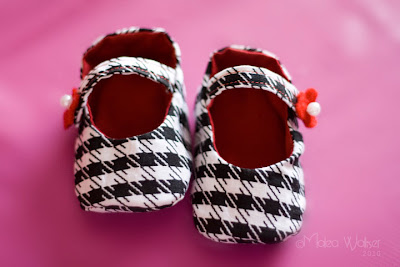
I finally can post something about these! As the baby shower was this past weekend.
Aren't they cute? Of course they are! I found the pattern by ithinksew.com for about $4.50. Perfect! Patterns are included for infant sizes 1-5. The pattern was super easy too! What an awesome idea for a baby gift, right? I'll definitely be making these again.
I just need to hurry up and make some for my girls before they don't fit them anymore :)
Thanksgiving is NEXT WEEK?!?!
Oh my! Where did time go? I can't believe that Thanksgiving is next week!
This means that I need to figure out where we will be and what we will be doing. That's one of the big hazards of having both of our families living in the same town - we are close enough to see everyone, but that makes for a really hectic day all around. It's great to have everyone close, but we have found that it's best to try and take turns where we go to to keep everyone happy, and ourselves sane!
This also is a big reminder that I need to get all of my plans together for any handmade holiday gifts that I plan to make. I've got a few ideas of quick projects, but they will all come together best if I plan it all out and know when I'll be able to work on things.
More later... :)
Sunday, November 14, 2010
Houndstooth Clutch
Ok, so it doesn't have to be houndstooth - but mine is :)
How cute is this?
I made it using a freebie pattern that I found at ithinksew.com. I figured, it be a really cute, quick something to make and there are endless possibilities of what you could to do customize this little clutch. I decided it was best to start with the pattern as written, then for future ones then I could do something a little different.
The pattern is for beginners, but there do seem to be some instructions that are implied. Pay attention to what you are doing and think twice before you stitch - otherwise, you'll end up ripping seams (like me).
This is the second pattern of theirs I have tried (... more about the first one later). I found a pattern that I really like for a new purse too. Their patterns are really adorable!!
Things I did differently, or noticed for next time...
I didn't have a magnetic closure, but I did have velcro... so I used velcro - which was iron on, so no extra stitching :)
There is a pattern piece for a handle - this is optional, mine obviously didn't have it. The instructions for adding this handle are at the very end of the instructions pages, so I had actually cut out a piece and still have it left over for next time (guess I'm making another houndstooth one :)). So if you want the handle, check the instructions at the end of the packet before you begin.
When you add the lining and the exterior together, it simply says to put the right sides together (which is correct... but it doesn't exactly tell you that you should fold the flap piece into the inside of the bag before you add the lining. So, make sure you fold it in before you stitch the lining in place otherwise, you'll end up with a bag with the flap hidden somewhere inside the lining.
And I'm not really sure how this happened... but my lining is a bit baggy and too big for the inside of my bag (the lining is bigger than the exterior). Not sure what happened, because I really did follow instructions and used the right size seam allowances.
Anyone else want to try and make one? I'd love to see pictures!
Look Whoo's One!
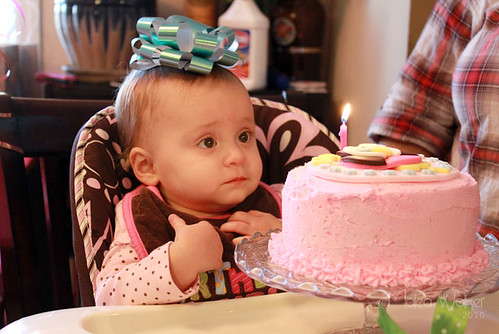
Yeah! The day that I had been planning for for so long has now come and gone. This past Saturday was our youngest daughter's first birthday party! I'm not a big party planner, I have definite ideas but never quite as much time to carry them all out as needed. So once I decided on a theme, I set out to find the perfect items on Etsy to help complete my vision. I certainly didn't have enough time to do everything that I wanted, but I LOVE handmade items (of course), so Etsy was the perfect solution to my dilemma.
What I found was this...
The invitations were customized by Kiyomi Designs with our info and photo and the final image was sent to me to have printed. This saved a bunch of time and I was able to control how I wanted it printed. This is also great if you wanted to send out the invites via email.
The high chair banner was just cute! Perfectly matched the invitations and was just a great little added touch for the party decor!
And of course gift tags! I ended up taping these to the front of a little brown bag and filling the bag with goodies for the kids who attended the party.
Kiyomi Designs was able to set me up a custom party package with just the specific items that I wanted. She also offers cake/cupcake toppers, large banners (as opposed to the shorter high chair banner), and more!
Cakes and Kids offers some pretty awesome fondant cupcake decorations! When I came across these little guys, I knew they were perfect! They went perfectly with the invitations, and were just simply adorable on my baked at home cupcakes. I'm definitely a novice when it comes to cupcake baking, icing and such but adding these little guys was just the touch that they needed to go from ordinary to simply adorable!
Cakes for kids offers the fondant decorations in so many different styles for any occasion. I was able to get this party package with the cake topper (that we used on the smash cake - it was a FIRST birthday party of course) and 24 of the little fondant owls, along with 2 styles of super cute decorative cupcake wrappers at a great package price! This made things super easy! The WOW effect was definitely there!
Everything else that I got for the party was totally last minute! I spent my lunchbreaks all last week running errands to find stuff for the goodie bags, paper plates, cups, utensils, food, etc. I hate feeling so rushed with stuff! Party planning is definitely something that I don't enjoy doing as much as I once thought I would.
Now... I've got to start planning NK's 2nd birthday party - which will be in 3 weeks!! I don't even have an idea where to start with this one. Oh well.
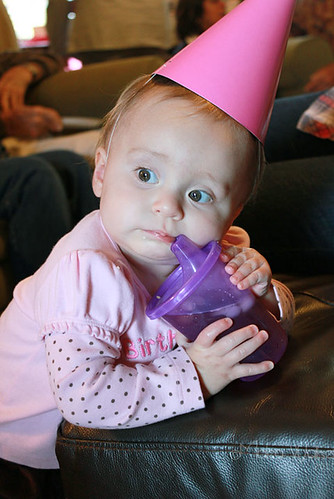
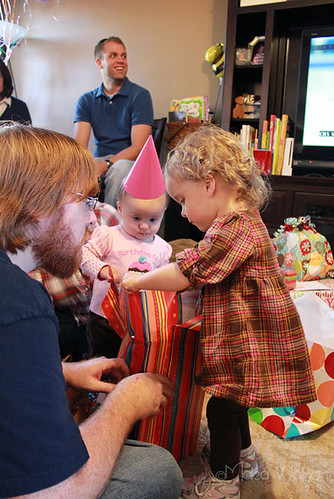
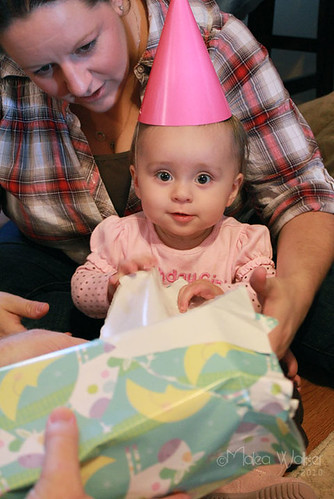
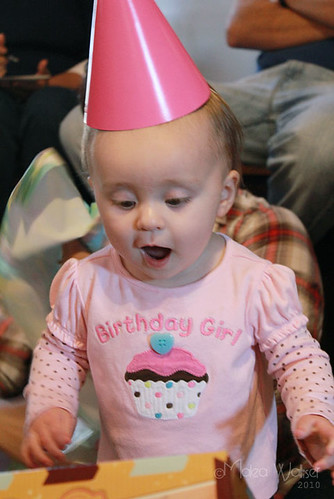
And a few of my favorite photos from the party...
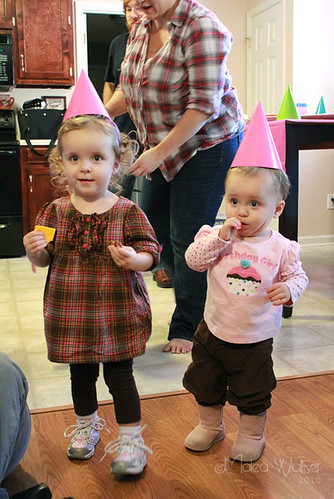
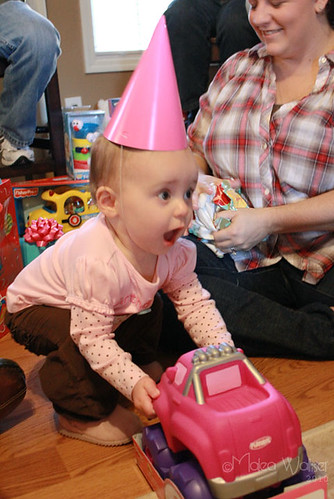
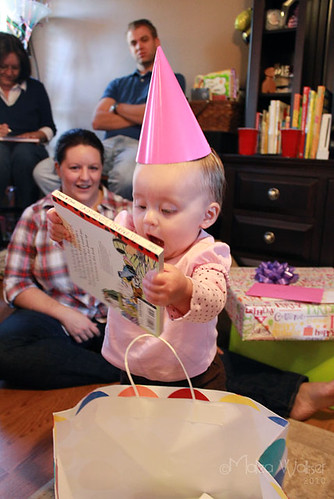
Big sister had to show her how to unwrap presents...
She's got some great surprise faces! :)
And a little side note... Thanks to all our family and friends who were able to come to our sweet SQ's party. We are so glad you were able to come and celebrate the day with us! Extra special thank yous to our parents... you helped so much with everything that you did around the house, and taking care of the girls while we finished all the prepping for the party... We couldn't have done it without you!
Friday, November 12, 2010
Lots of cute stuff!
Yes, I know, I still need to post about the wonderful birthday party last Saturday... I will...
But for now...
I keep finding some really cute fun tutorials of super easy, fun stuff to make... so I'm starting in on making some of them. :)
Yesterday I was off work, so I took the girls over to my Mom's house and while the kids napped, we were able to work on some craft projects.
I finally was able to almost complete this one really awesome baby gift that I had been working on... more about that later (after it's been given away).
I also found some awesome scarves and neck warmers that I want to make for a friend...
Aren't they cute? Yes, of course! And they are SUPER EASY to make too. Really... I cut the fleece in a few spare minutes at Mom's house yesterday, and last night I stitched the neck warmer together in about 5 minutes or less. The scarf is all ready to go through the machine (I'm making two of them actually)... I just need to decide what shape(s) I want to cut out of them for the reverse applique (I'm thinking stars at the moment, because that might be a little easier to do freehand through my machine). That will be finished tonight. I'll have photos of the finished products after I finish up the scarves.
Friday, November 5, 2010
Planning...
I didn't forget to post something this week... I've just been super busy getting everything ready for little SQ's First Birthday party! Yup... it's come down to crunch time, and tomorrow we will finally have this whole party thing behind us.
I used to think that I'd like planning parties, but really, it's not ended up being as much fun as I thought. Probably because I've ended up being the ONLY parent to do any planning for these birthday parties. Figures... oh well. Hopefully when the girls are a little older and are able to put in any sort of requests about what they'd like then it might be more fun... we'll see :)
So, I'll be posting about the party later this weekend... for now, here's what the girls were doing this evening while I was busy baking cakes...
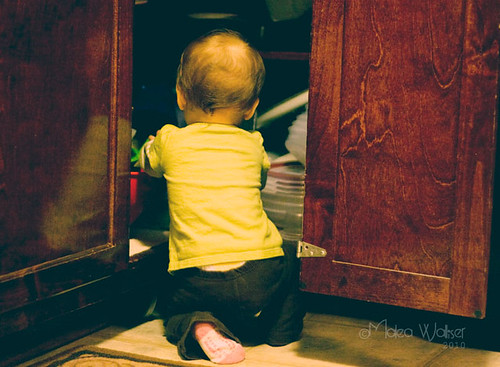
The sneaky little SQ, getting into my cabinet of all things plastic :)
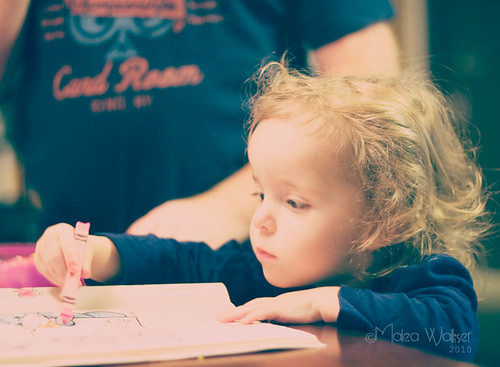
And my sweet little artist, NK :)
I used to think that I'd like planning parties, but really, it's not ended up being as much fun as I thought. Probably because I've ended up being the ONLY parent to do any planning for these birthday parties. Figures... oh well. Hopefully when the girls are a little older and are able to put in any sort of requests about what they'd like then it might be more fun... we'll see :)
So, I'll be posting about the party later this weekend... for now, here's what the girls were doing this evening while I was busy baking cakes...
The sneaky little SQ, getting into my cabinet of all things plastic :)

And my sweet little artist, NK :)

Subscribe to:
Comments (Atom)

