I of course, opted for making one. Of course, I like making things, and this was something simple that I could do quickly... but also I've got this little pillow that my Mom made for me when I was a baby, and I've kept it and still have it on my bed to this day. Keepsakes are always awesome. She may not cherish hers the way I have mine... but who knows? You never know what a child will latch on to. :)
So today... I finally got around to making my little girl her very own pillow. I thought I'd share a quick easy tutorial.
Supplies you will need:
- standard pillow case (or scrap fabric large enough for your pillow)
- thread
- needle
- sewing machine
- scissors
- rotary cutter, cutting mat, and ruler (if you want to be really precise - you could just hand cut with scissors if you wish)
- pillow batting/stuffing
- colorful, fun fabric to make pillow case
I started off with a basic pillow case. I had bought a pair of standard pillowcases at Target on clearance recently, and just figured it would be goo to use as scrap fabric. Turns out it was perfect for this little project!
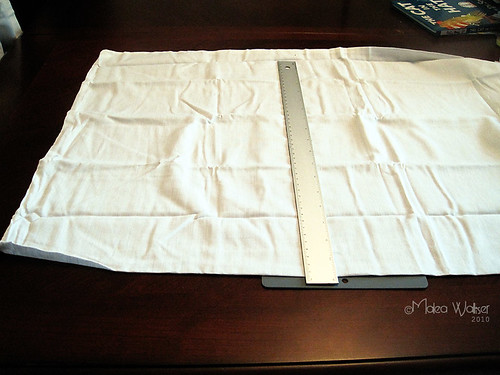
Start by laying out your pillow case and deciding how big you want your pillow. I left the width of the pillow the same as the pillowcase already was - no need to cause myself any extra work... plus, it was just a good size. I then cut the pillow case approximately in half using my rotary cutter and a ruler. I believe that made it about 12" tall.
Next, I turned the cut pillowcase inside out and stitched the open end closed. I used a zigzag stitch on my sewing machine because it appeared as if it will be more sturdy. You could really use any type stitch you want, as long as it is tight enough to be durable.
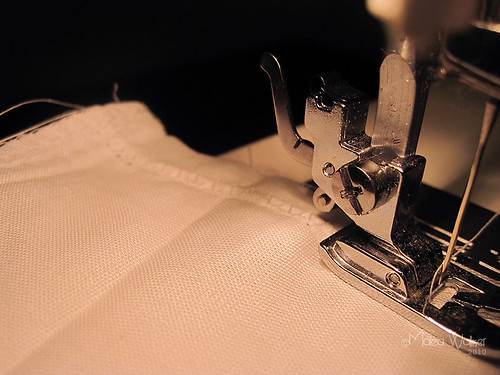
Before you sew the entire side closed, remember, you are going to have to leave a space to be able to stuff the pillow. About 3/4 of the way through the seam, I stopped and skipped a space. You don't want it to be too big, or else you'll have a lot of hand stitching to do, but you do want it to be large enough to fit your hand through.

After stitching the side, turn the pillow case right-side out again. You should have what looks like a simple (unstuffed) pillow.

Now take your stuffing, and start stuffing the pillow until it is as full and firm as you would like it. **I let my daughter help with this part... she thought it was lots of fun, until she got bored about half way through...** Now, you should have a fully stuffed pillow.
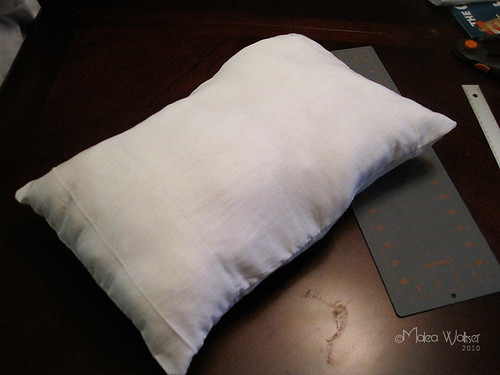
All that is left to do now, is stitch up the stuffing hole. Simply, thread your needle and whipstitch it tightly closed.
Now, you have your completed pillow! See, that was super simple and really quick!
Of course, it's no fun just having a simple plain white pillow. Also, it will very easily get dirty - so you need to have a super cute pillow case to fit this custom pillow. Remember, since it's a custom sized pillow, you won't just be able to buy a new pillowcase at the store. Plus, it's more fun to just make your own with any fabric you (or your child) wishes.
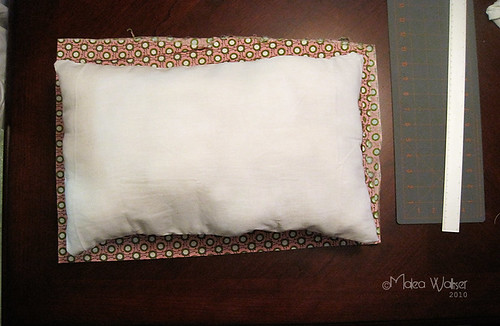
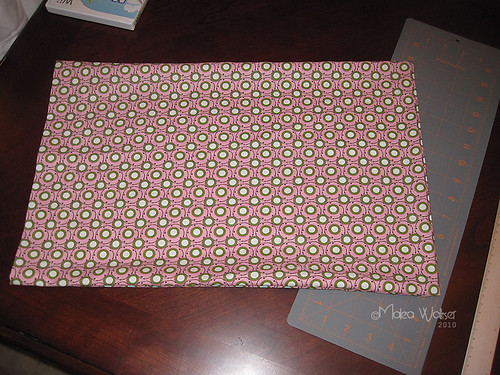
And so to make the pillow case, I started by choosing my cute fabric and cutting it to size. I simply laid my new pillow on top of the folded fabric and decided how big it needed to be. Remember, you don't want to trace the pillow or it won't be big enough. Make sure you allow an extra inch or two all the way around, plus an extra 2-4 inches on one end. There are no precise measurements here, as it depends on your preference. My finished pillow measured approximately 12x18 so I cut the fabric to approximately 13x20. The case fits the pillow perfectly, so I could have cut the pillowcase fabric just an inch or so larger and it would have fit slightly loose.
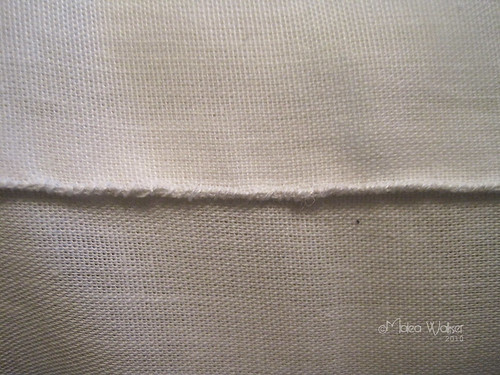
I made sure that I ironed my pillowcase fabric because it was very wrinkled after being washed, and I wanted to be sure that it was cut evenly.
After ironing the fabric, and laying it out, I noticed that I had a pretty uneven edge. So I took out my rotary cutter and ruler again and straightened the edge to make things even. If I hadn't done this then it would have been a little harder to sew a straight line when sewing the pillowcase together.

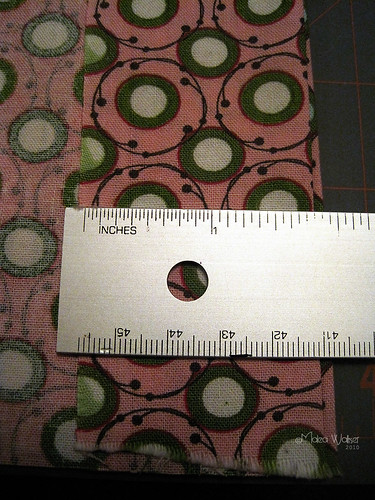
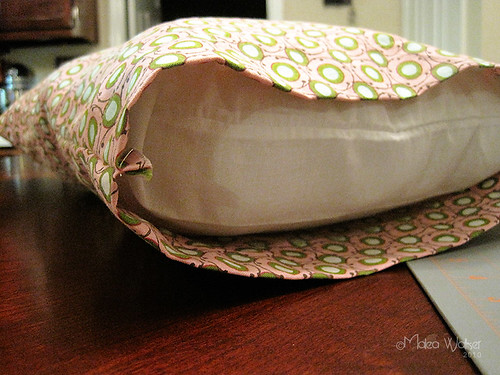
Next, I folded what would be the edge of my pillowcase over about 1 1/2 inches. This makes the hem of the edge of the case. You can make this however wide you want, it's all about what you like.
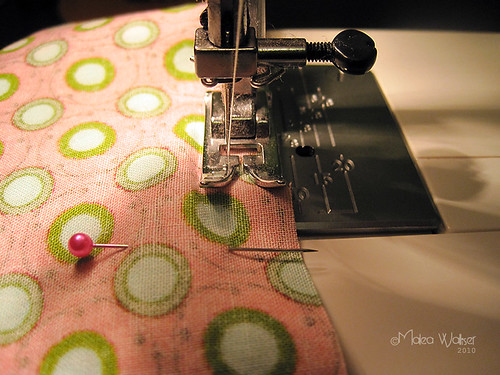
Now, head over to your sewing machine. Start by sewing the hem part of the pillowcase down first.
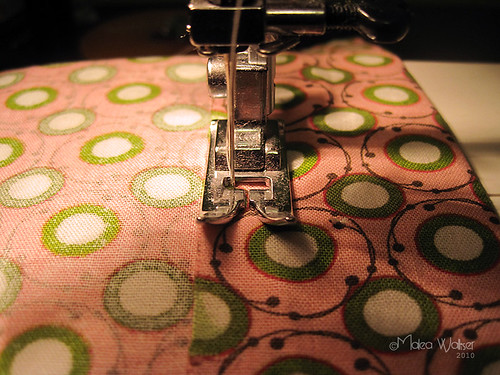
Then sew the long sides shut. It can be helpful to pin the sides together to keep them even at this point.
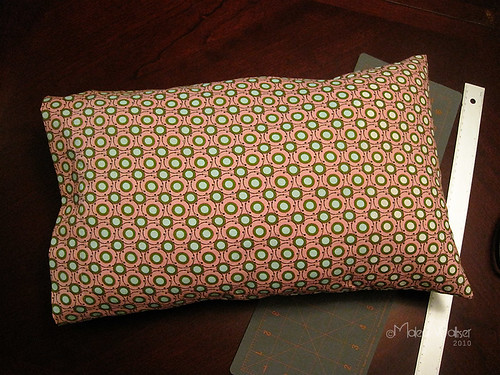
Trim up your stray strings, and turn your pillowcase right side out. You now have a perfect custom pillowcase for your brand new pillow!
Now, try it on for size!
You now have a quick easy new pillow in maybe 30 minutes or less. The perfect quick easy project for busy Moms!
NK sure enjoyed her sweet new pillow!!

It would also be fun to do some kind of embroidery on the pillowcase or even a little applique of some sort. I may just try that when I go to make some back up pillowcases :)
No comments:
Post a Comment