My sister came by after stopping and picking up some fabric at JoAnn. I took a few measurements and got started with her new dress(es). A few days ago, my sister, Whitney (of Caught You on Camera), sent me a link to the McIntosh Knockoff Dress at Maybe Matilda... and asked me to make her one. It's a super cute dress and honestly, really very similar to my Kate Dress that I have made for my daughters. Same basic concept, except the McIntosh Knockoff features this really fun sash and the best part... pockets!
I was really excited to make a dress with pockets in it... I've never done it until today, and I must say I'm hooked! I'll probably never (or rarely) ever make a skirt again without pockets. Shoot, I might even go take a look in my closet and start figuring out which dresses and skirts I could add some pockets to. hehe I better slow down though for now. :)
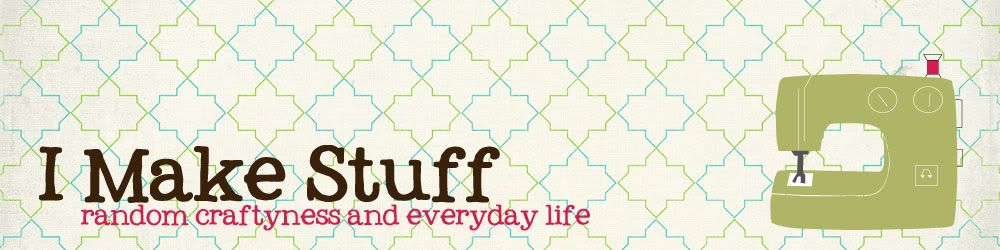
Anyway, the tutorial was super easy to follow and really simple to do. To be perfectly honest, if you can cut a square/rectangle and sew a straight line, then you can make this dress. Here's how mine turned out...
This was the first one I made...

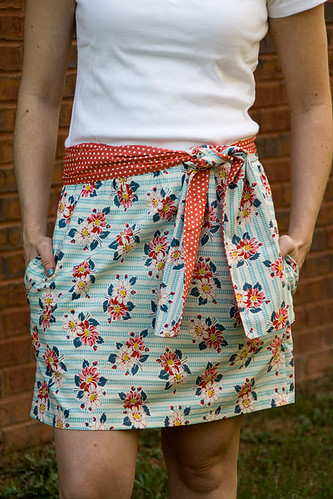
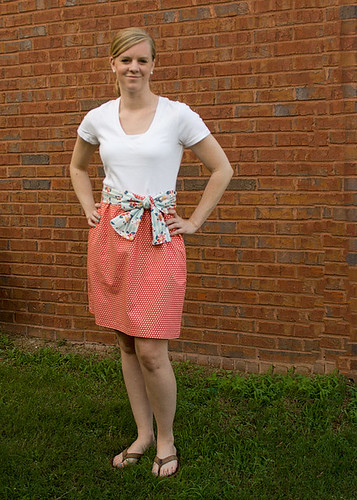
On the second one, we made the skirt about an inch above the belly button.
The only problem we had was with the sash. I didn't cut it long enough the first time around, so I ended up going back and having to cut it and add more. The extra fabric is still here so I think I'm going to re-do the sash to make it look better.
Oh yeah, and the sash... this was the fun part of how it turned out for me - I had the idea that since the fabrics that Whit brought over coordinated, that we could make the sash double sided. This way I only had to make one sash and also both prints would show when it was tied, adding a little bit more fun to the outfit. :)
These dresses would be really cute with various belts really... just to mix up the outfit a bit...
I'm going to make myself one soon hopefully!!
Your dresses came out so cute! I love the fabrics you used (especially the sashes in different fabrics--awesome idea!), and the high-waisted one especially is my favorite. Great job! I love them both!
ReplyDelete